Let us all face it together – we could all be more resourceful and artistic when it comes to reusing or recycling waste materials in our homes. I, for one, (gradually) mastered the art of taking something completely unproductive and turning it into something fun! Although, this transition only came about after the arrival of my first-born.
Whether you want to help your kids with their artsy school projects or decorate your home with quaint, hand-made adornments, these 10 best out of waste craft ideas for kids will bring massive joy and fun!
Before I dive into the craft ideas, I’ll give you a quick understanding of the many types of waste that exist in my home – and I’m sure you’ll find it in your home as well…
What are some of the common types of wastes found in houses?
Wastes can be categorised into:
- Organic waste – includes kitchen waste, flowers, leaves, fruits, and vegetables.
- Toxic waste – includes chemicals, expired medicines, spray cans, fertilisers, batteries, shoe polish, etc.
- Recyclable waste – includes plastics, glass, paper, and metals
Ways in which you can recycle waste and do your planet a favour!
Toxic wastes are to be disposed off immediately, as they could be extremely detrimental for your health! However, organic and recyclable wastes are ideal for creating artsy stuff for your house!
Here’s how.
The Recycled Sock Snowman!

I am the Sherlock Holmes of my family, always moving about trying to solve the mystery of the missing sock! So, building this snowman out of that single sock was strangely rewarding.
What you’ll need:
- 1 terribly lonely sock
- 1 coloured sock
- Sesame seeds
- Map pins
- Rubber band
- Buttons
- Scissors
- Glue stick
- Ribbon or a cloth
How to go about it:
- Take the white sock and cut it in half.
- Flip it inside out and fill it up with the seeds.
- Make a fat, round base.
- Then, secure the top of the base with a rubber band.
- Tie a second rubber band about 3/4th of the way up to make the snowman’s little head.
- Glue the buttons to the snowman’s belly.
- The map pins become the snowman’s eyes and nose.
- Take the ribbon or cloth and use it as the snowman’s muffler!
- The top part of the coloured sock can be used as the snowman’s cap.
- Voila, your sock snowman is ready!!
The Recycled Ice-Cream Stick Plane!
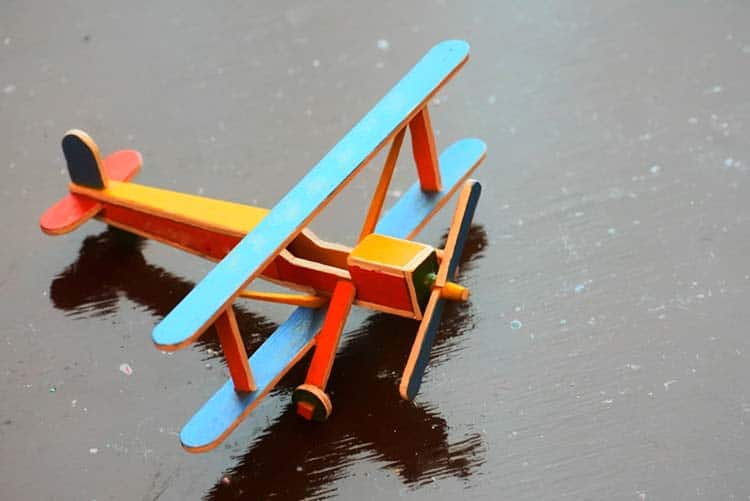
My sons love fighter planes (not surprised there!), so they absolutely cherished the opportunity to build their own fighter plane out of nothing but ice-cream sticks.
What you’ll need:
- 4 sticks
- 1 wooden clothes peg
- An eraser
- Paint
- Scissors
- Glue stick
How to go about it:
- Wash the sticks, remove any stickiness from them.
- Paint the clothes peg and the sticks in a colour of your choice and let them dry.
- Cut 1 stick into three pieces and join the two end pieces with glue in a straight line. Your propeller is ready.
- Next, cut out a small portion of the eraser, paint and dry it.
- With the help of glue, stick the remaining 2 ice-cream sticks to the clothes peg, at a perpendicular angle and equidistant.
- Flip the model plane and repeat the process with 2 more sticks, overlapping each other.
- Glue the painted eraser bead to the stick and your propeller is all set.
- In the last step, stick the propeller to the clothes peg’s mouth and hey, you own a fighter plane!
The Upgraded Ice-Cream Stick Bookmark!
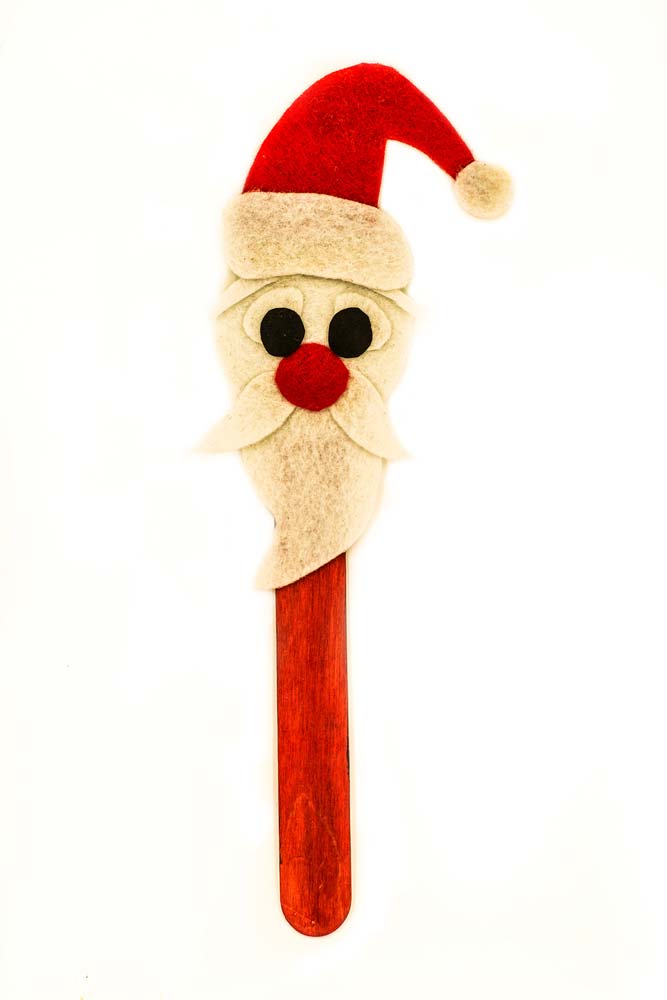
Because a great book deserves an even greater bookmark. We had this brilliant idea during the scorching summer heat when ice-cream was a must-have post lunch and dinner!
What you’ll need:
- Ice-cream sticks
- Glue
- Ribbon
- Googly eyes (from old toys)
- Felt pens
How to go about it:
- Wash away the stickiness of the ice-cream sticks and let them dry.
- Leave the top portion of the stick for later use and twirl a ribbon on the lower end of it.
- Use the felt pens to either write or draw or colour the stick.
- Now, stick those Googly eyes to the top portion of the stick using a glue stick.
- Assign a character to each bookmark to spice things up!
The Recycled CD Coaster
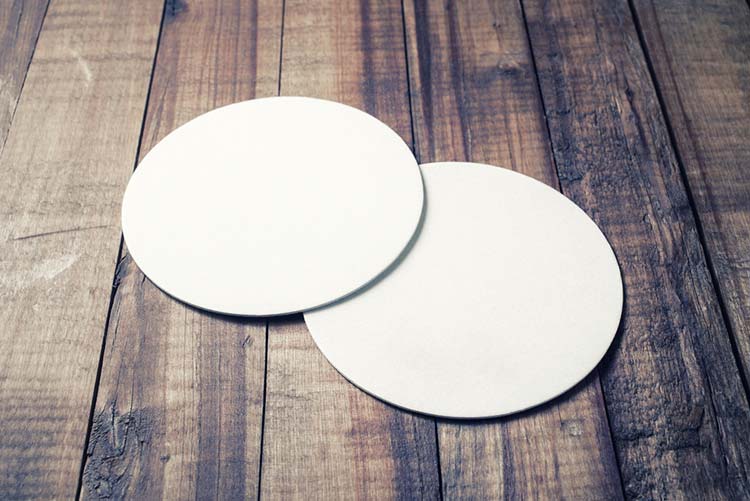
For when you don’t want your kids to leave rinds on the furniture, a funky CD coaster could come in handy! I absolutely love this ingenious craft idea to make something out of waste!
What you’ll need:
- Old CDs
- Cardboard (thin)
- Scissors
- Glue stick
- Felt pens
- Old fabric scraps
How to go about it:
- Trace 2 outlines of the CD on the cardboard, since you’ll need two of those to make a coaster.
- With the help of glue, stick these cutouts on either side of the CD, so the hole is not exposed.
- Trace its outline on the fabric scrap and cut a piece out!
- Glue the cardboard’s top and stick the fabric scraps onto it.
- Your recycled coasters are ready to use!
The Recycled Bottle-Vase
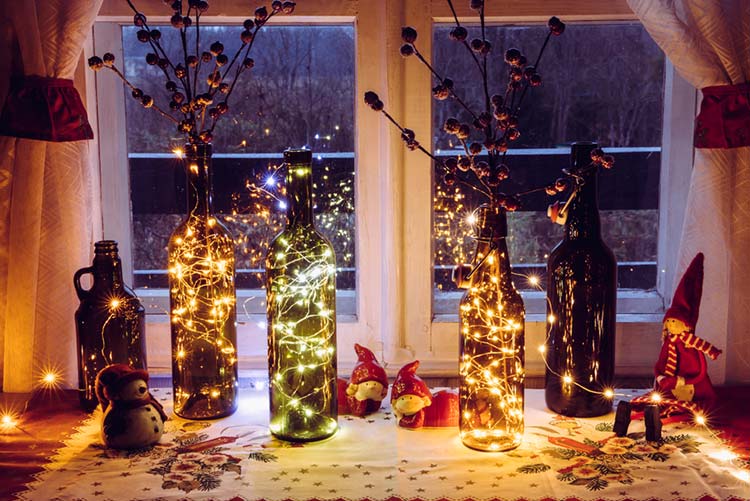
When you have an isolated, empty soft drink bottle sitting in one corner of the house, it’s time you made a vase out of it!
What you’ll need:
- Plastic or glass bottles
- Paintbrush and paint
- Masking tape (optional)
How to go about it:
- Thoroughly wash the bottle and remove any labels it may have.
- Use the masking tape, make any design you want on the bottle.
- After that, paint it using any colour of your choice and let it dry.
- Top it up with another coat of paint to make it opaque.
- You can use spray paint for this purpose too.
- Stick a flower to the bottle-vase, and it’s ready!
The Carton Bird House
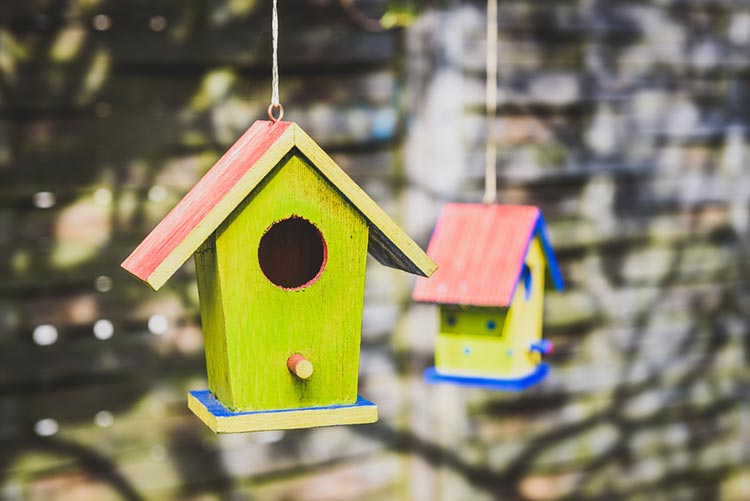
Your old milk carton or juice box can come in handy for this project!
What you’ll need:
- Juice or milk carton
- Glue
- Paint
- Plastic spoon
- Cutter
- Coloured paper
- Wool
- Soft book cover
How to go about it:
- Using a colour of your choice, paint the carton and dry it.
- Dilute the glue stick with the help of water and spread it evenly on the carton and the book cover.
- Use the coloured papers randomly on the carton to let them stick to it in beautiful, abstract patterns. Try overlapping one over another.
- Make one hole on top of the carton and one the side. These are the bird house’s doors.
- Below the door, cut a small X with a cutter and place a spoon in it to hold the bird seeds.
- Next, place the book cover on the carton to make a roof.
- To hang the birdhouse, make two slits on its roof and insert the wool through these.
For days when the overwhelming waste materials get to your head, sit down, sip on a cup of coffee and channel your inner artist with these best out of waste craft ideas!
Do let me know if you tried anything from this list.
